We may earn money or products from the companies mentioned in this post, but this does NOT cost you anything extra! Check out my full disclaimer for more info.
Imagine a creative partner that can instantly transform your wildest ideas into stunning visuals.
That’s exactly what ArtFlow AI does!
The best part? You don’t need to be a tech genius or a pro digital artist to make it work. Let’s be honest, if I can use this to make amazing images, you can too.
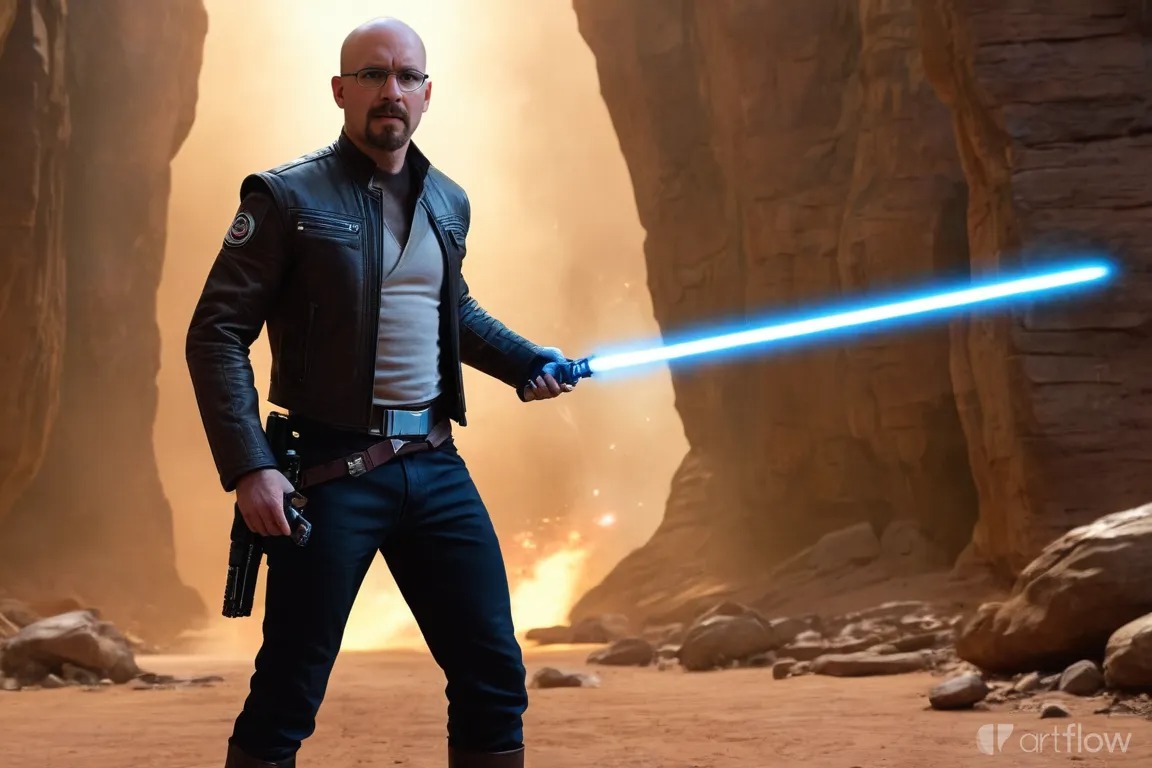
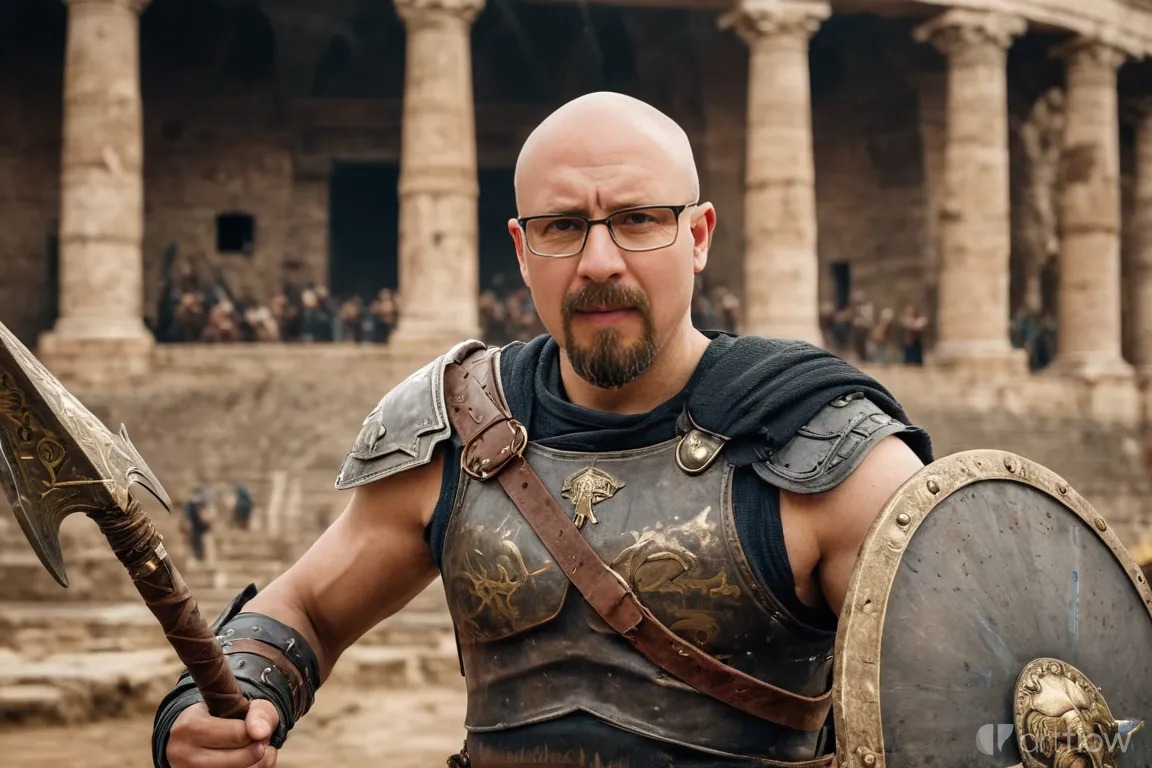
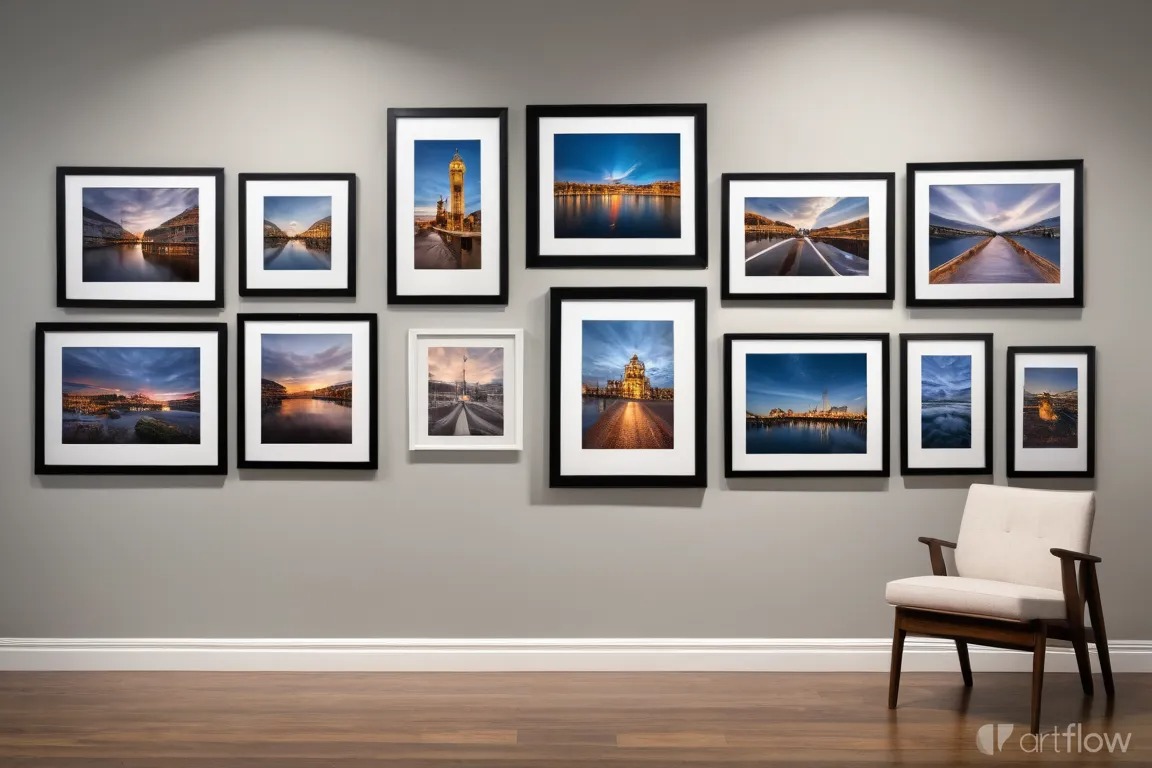
It’s no wonder people have been asking how I’m making my own images, they look like actual photos of me!
Whether you’re aiming to stretch the limits of your artistic expression or just want to have fun creating eye-catching visuals, ArtFlow AI is your new go-to.

Let’s get you started making your own images!
By the end of this journey, you will be ready to jump in and start crafting unique art that is all your own. So, gear up to unleash your creativity!
As you will soon see, ArtFlow AI opens up an entirely new world of digital art, where the only limit is your imagination.
If you’re ready to learn more but are short on time, jump to a section you are interested in the table below:

Getting Started with ArtFlow AI
Starting with ArtFlow AI is easy. Here are a few things to note:
- We are going to focus on using the free version of ArtFlow AI. Yes, you can upgrade, but everyone should start with the free version to see if they will use it.
- The first step is signing up for ArtFlow, which is easy.
- The next step is what takes some time. Uploading your images to their database.
- Then, we will quickly cover the dashboard, but the best way to learn is by playing around.
- This all leads us to the fun and exciting part, creating amazing images!
Step 1: Signing Up and Setting Up Your Account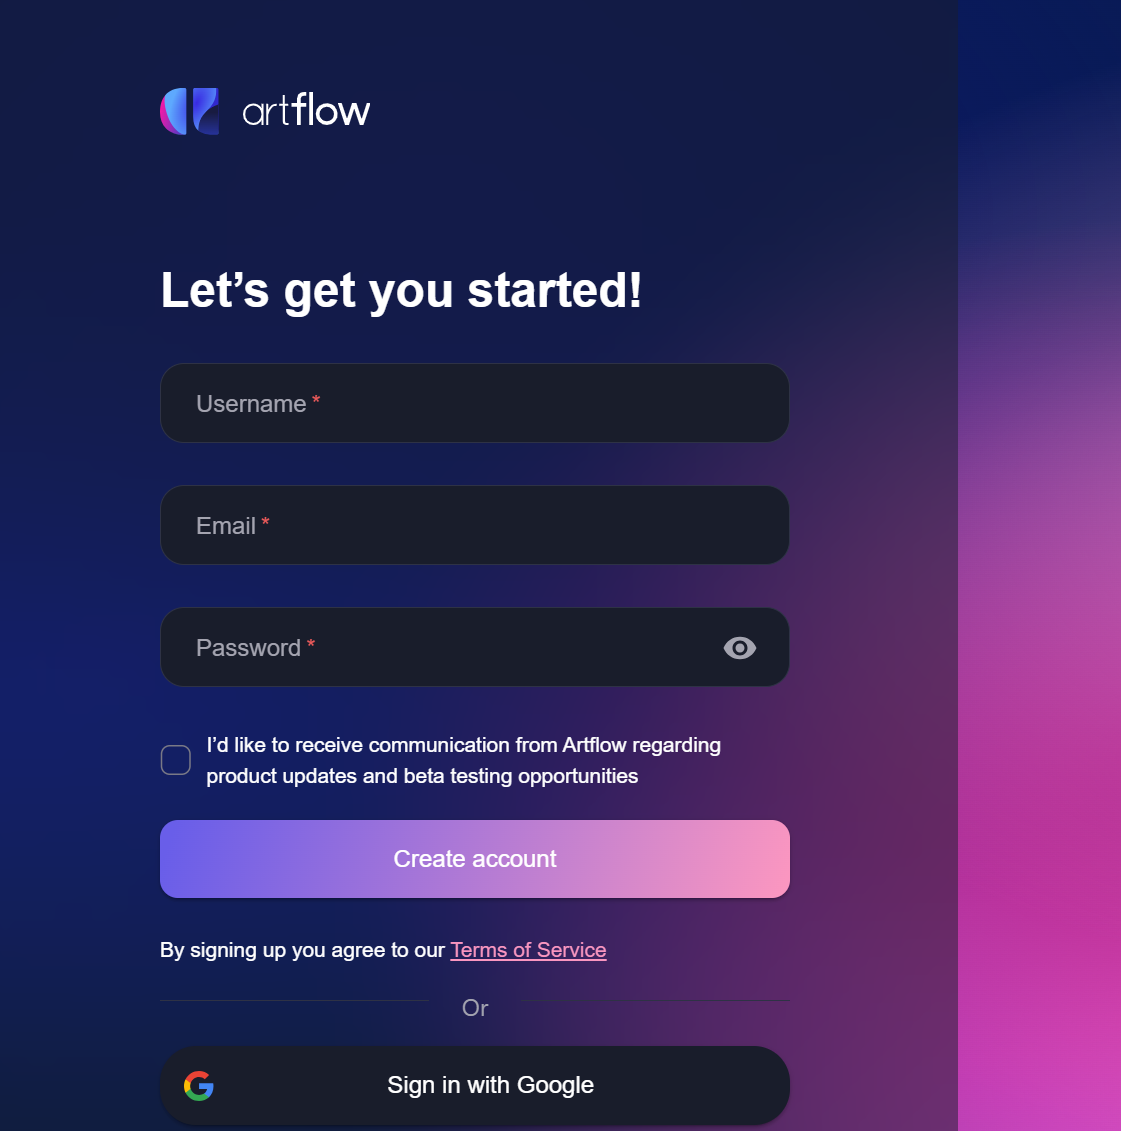
Let’s start by setting up your account.
- Go to the ArtFlow AI website and look for the big, inviting “Sign Up” button.
- Click it, and you’ll be guided through a quick and painless registration process.
- You only need an email address, a strong password, and a pinch of excitement.
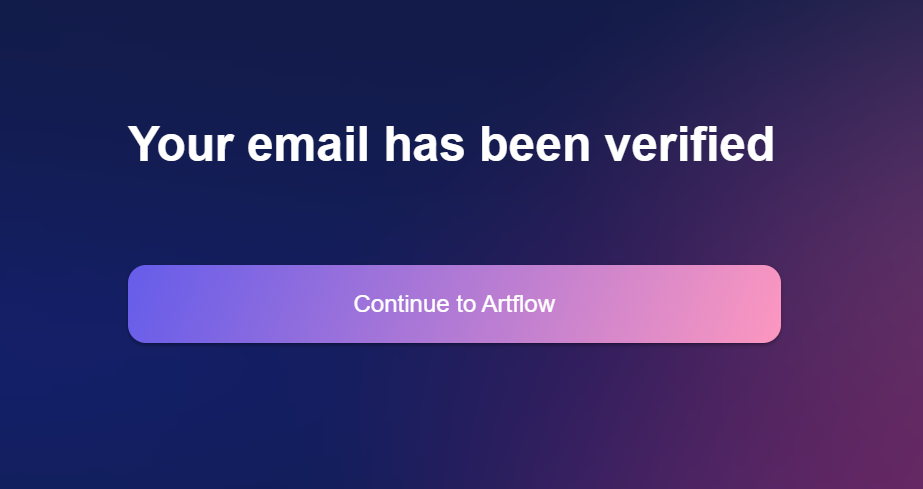
Don’t forget to verify your email—check your inbox for a confirmation message from ArtFlow AI and click the link inside to activate your account.
Once you’ve signed up, it’s time to set up your account. This is where you’ll choose your preferences and organize everything before diving into the creative fun.
After that, you’ll be greeted by the ArtFlow AI dashboard, your new playground for creativity. Take a moment to explore the interface and familiarize yourself with the layout. It’s designed to be user-friendly, so even if you’re new to digital art, you’ll feel right at home in no time.
Before we load our images, I want you to know that you can use ArtFlow AI to make any image.
If you scroll down the page, you’ll also find a variety of “Public Actors” that you can use for inspiration or use in your images.
To create a new image without uploading anything, go back to the top of the page and hover your mouse over to the left side of the screen. A slide menu should appear, and you want to click “Image Studio” and then select “Create New Image.”
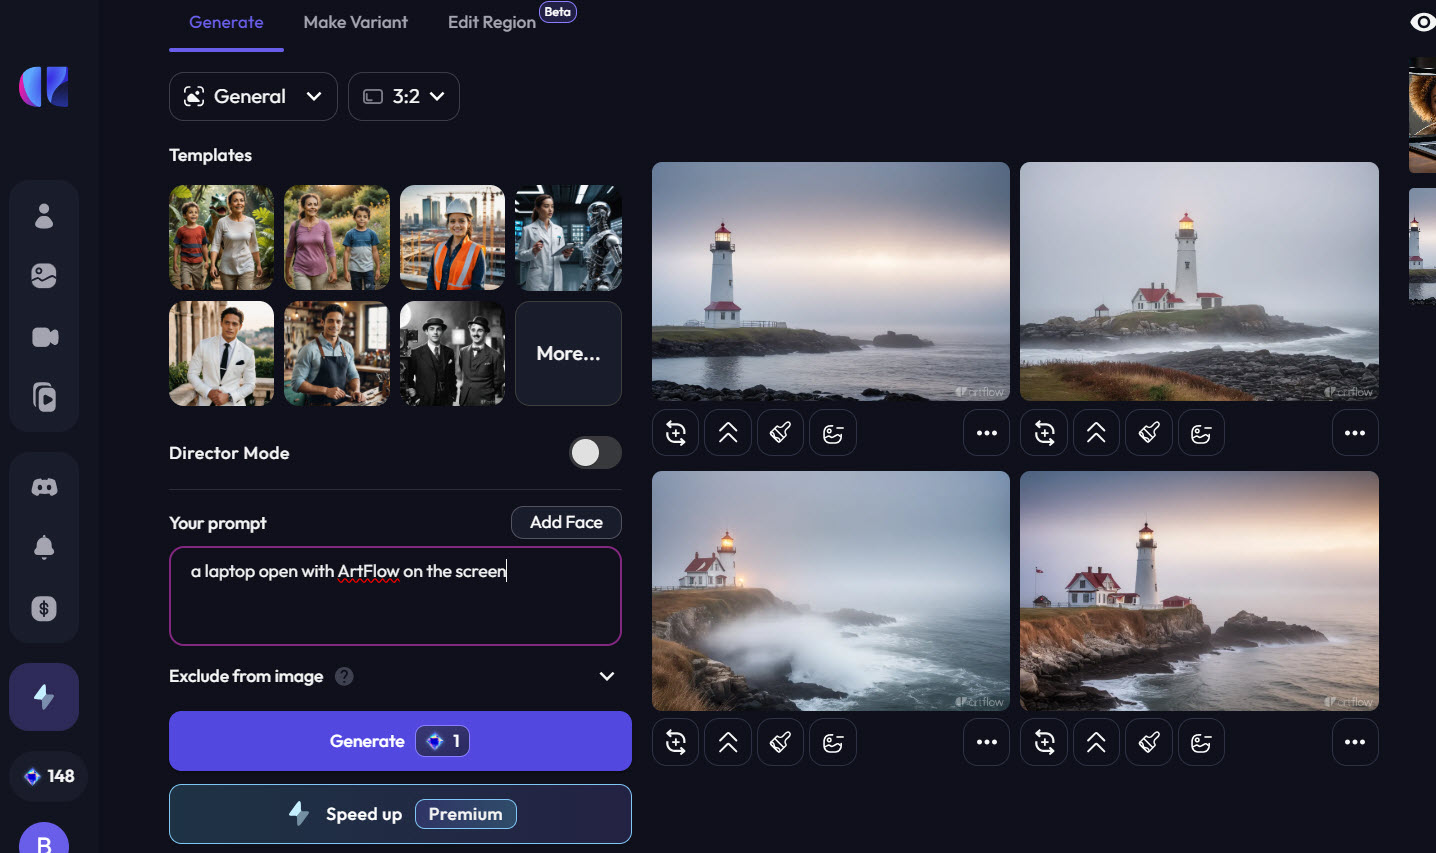
Next, you will come to where the magic happens. You should see a section (top left) with templates and a field labeled “Your Prompt” with an empty box underneath that.
This box is where you will always add your prompt (what you want the image to be). For example, type “A lighthouse shrouded in fog, perched near a small town on the coast.”
When you’re ready, click the blue Generate button and watch your imagination take form!
Step 2: Uploading your Images
Let’s get back to creating your own personal images, so let’s head back to the main dashboard (if you aren’t there already).
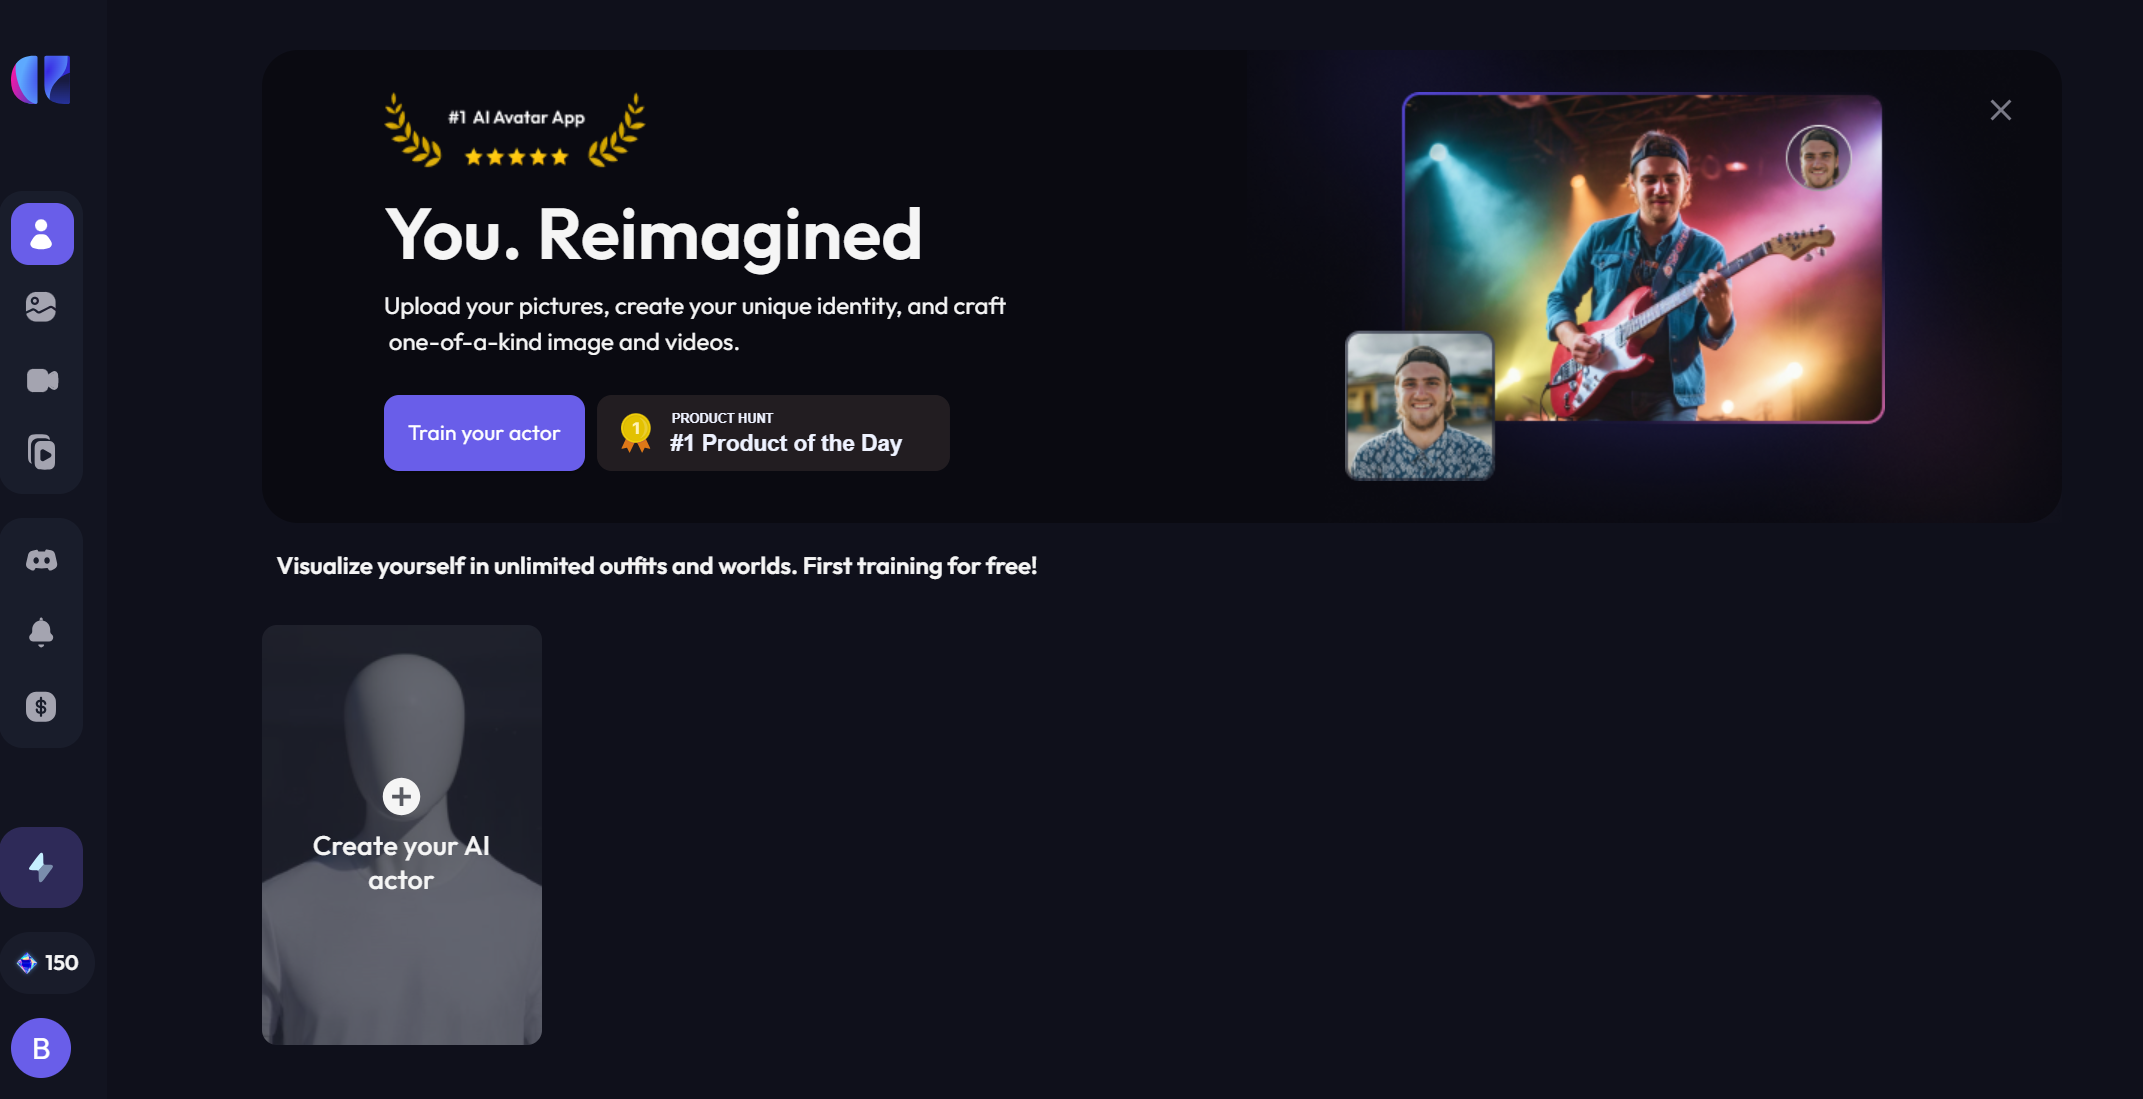
Front and center, you’ll see the “Train your actor” button (you can also click the ‘Create your AI actor’).
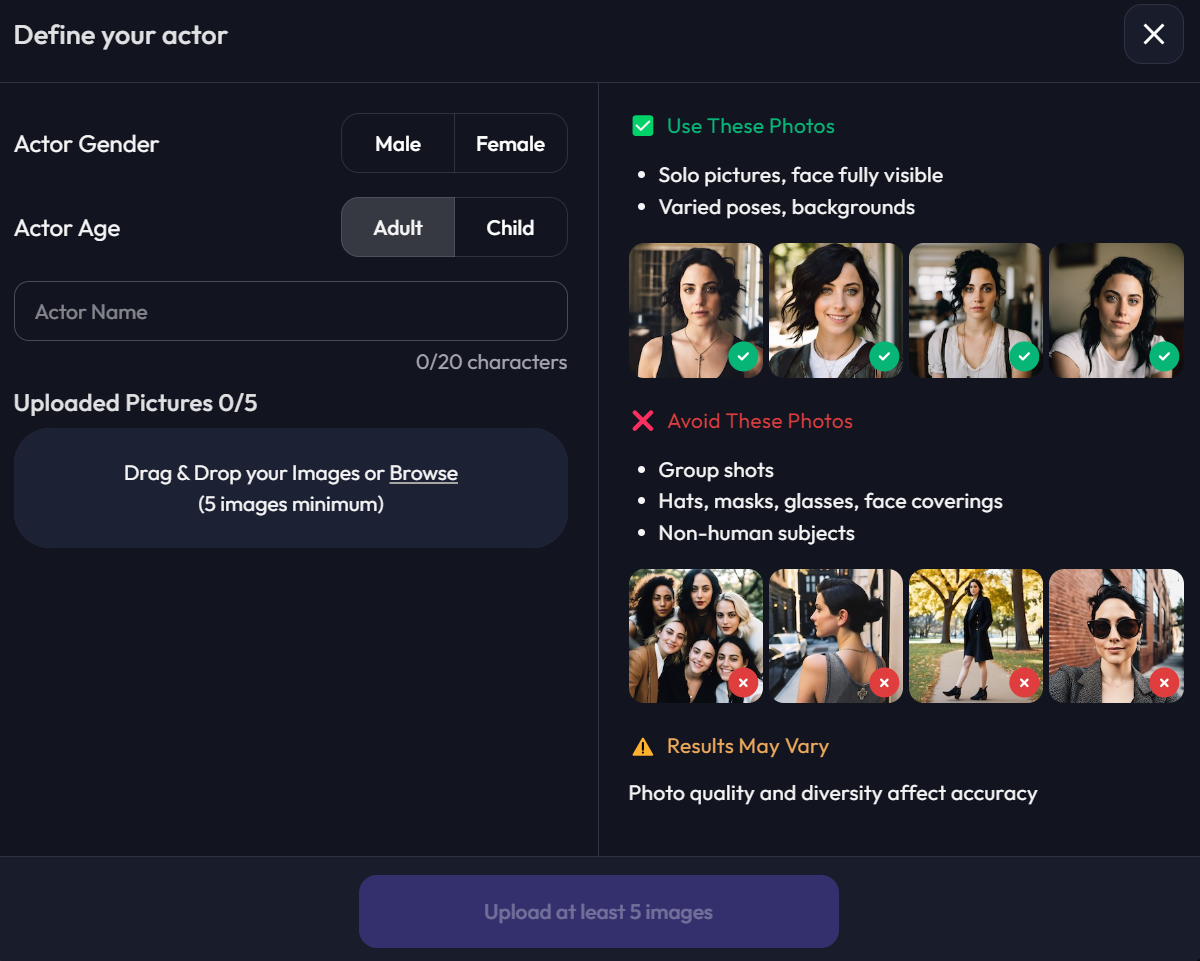
As mentioned above, this part of the process will take a while, so be prepared. However, signing up for the paid version of ArtFlow will be significantly quicker. Again, I suggest starting with the free version.
Because you know this will take time, do what I did and upload five to ten images to their database before going to bed. The upload should be complete by the time you wake up.
After this is done, you can start putting yourself (aka the actor) in some awesome images.
Make sure to follow the recommendations on the website, but prioritize close-up photos of your face. It’s also a good idea to include a few side profile shots (something I didn’t do but wish I had).
Once your images are uploaded, you’re ready for the next step.
Congratulations on setting up your account! I know it takes time, but from now on, after logging in, you can just play.
A few notes, on the left slide-out menu, you will see “credits” on the lower left. This is how many images you can create. There are a ton of options, and some images use more than one credit, but we’ll cover that later.
Now, let’s get you more acquainted with the ArtFlow AI interface (or your new creative playground)!
At first glance, it might seem like a lot is happening but don’t worry. You’ll be navigating like a pro in no time.
Here’s a quick rundown of what you’ll find:
- Projects Panel: This is where you’ll see all your ongoing and completed projects. It’s like your personal gallery, showing off your latest and greatest creations.
- Settings: Located in the sidebar, this is where you can tweak your preferences, such as adjusting the resolution of your images or selecting your favorite art styles.
- Help and Support: If you ever get stuck or need a quick tutorial, the help section is just a click away. It’s loaded with useful tips and guides.
- Toolbox: This is where the fun begins. You’ll find options to customize your images, choose different styles, and apply filters. Don’t be afraid to experiment—this is where you can let your creativity shine.
The interface is designed to be intuitive, so feel free to click around and explore. You’ll find that everything you need is just a click or two away, making it easy to focus on what really matters—creating stunning art!
Step 4: Basic Steps to Start Creating Custom Digital Art with ArtFlow AI
Now that you’re familiar with the ArtFlow AI interface, it’s time to roll up your sleeves and start creating some art! Follow these basic steps, and you’ll be crafting custom digital masterpieces quickly.
You might already know how to do this, but I figured giving more information is better than not enough.
That said, if you have any questions, please leave them in the comments below, and I’ll get back to you. Also, if something isn’t clear, let me know, and I’ll update this post!
- Start a New Project: Click the “Create New Project” button on the dashboard. This is your gateway to the creative process. A new window will pop up, asking you to name your project. Give it a title that sparks joy—this is your personal work of art in the making!
- Enter Your Prompt: Next up, you’ll need to describe what you want to create. This is where the magic of text-to-image AI comes into play. Type in a detailed prompt that tells ArtFlow AI exactly what you envision. The more specific you are, the better the result. For example, instead of “a sunset,” try something like “a vibrant sunset over a calm ocean with a sailboat in the distance.”
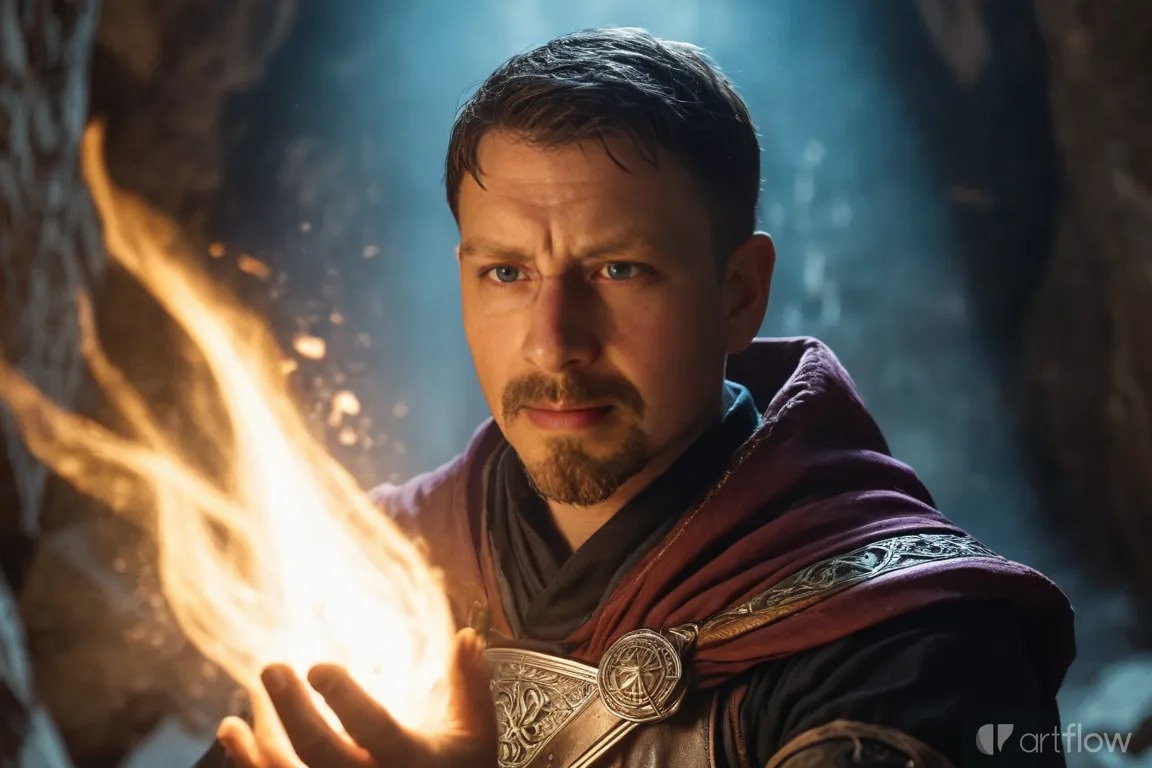
- Choose Your Style: ArtFlow AI offers a variety of styles to bring your vision to life. Whether you’re going for a realistic painting, a surreal abstract piece, or something in between, there’s a style for every creative mood. Select the one that best fits your idea.
- Adjust the Settings: Before you hit “Generate,” take a moment to fine-tune the settings. You can adjust the resolution, select color palettes, or even add filters to give your art that perfect touch. If you’re unsure what to choose, don’t worry—start simple, and you can always tweak things later.
- Generate Your Artwork: Now for the moment of truth! Click the “Generate” button, and let ArtFlow AI work its magic. In just a few moments, your custom digital art will appear on the screen, ready for you to admire and refine.
- Refine and Save: If your artwork isn’t quite perfect on the first try, no worries—you can make adjustments and generate new versions until it’s just right. Once you’re happy with the result, don’t forget to save your masterpiece. You can download it in various formats, ready to share with the world or add to your growing portfolio.
And that’s it! You’ve just created your first piece of custom digital art with ArtFlow AI. It’s as simple as that, and the possibilities are endless.
We’d love to see what you create!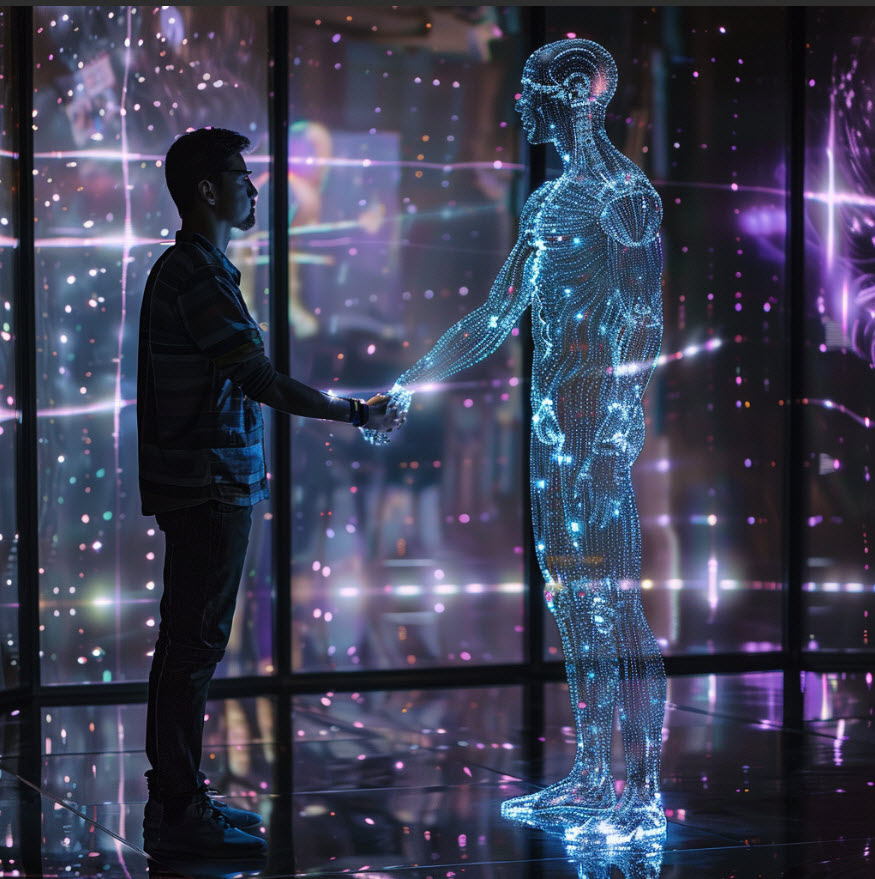
Share your ArtFlow AI masterpieces, or let us know your thoughts in the comments below.
Whether you’re experimenting with new styles or fine-tuning your favorite prompts, we’re excited to hear about your creative journey.
Let’s inspire each other!
Best Practices for Generating High-Quality Images
You might have been playing around a bit, but now you’re ready to learn how to craft the perfect prompt for your digital masterpieces. Let’s dive in.
Mastering the art of creating the right text-to-image prompt is key to producing stunning digital artwork with ArtFlow AI. Think of your prompt as the blueprint for your creation. The more specific and detailed it is, the better your final image will turn out.
Descriptive adjectives are your best friend here, as they help add layers to your prompt, conveying the colors, textures, and emotions you want your artwork to evoke. Taking the time to consider the design can also help guide ArtFlow AI in arranging elements just as you imagined.
Choosing the right artistic style is another vital step in bringing your vision to life. Your style choice can significantly influence the mood and impact of your art. Whether you’re aiming for something realistic, whimsical, or abstract, your style should align with the emotion or atmosphere you wish to convey.
Don’t be afraid to experiment with your prompts and style selections. Try different techniques, mix styles, or adjust your prompts to see what aligns best with your creative vision.
ArtFlow AI is incredibly flexible, allowing you to explore many possibilities until you find the perfect combination that matches your unique aesthetic.
By refining these techniques, you can create digital art that truly stands out and reflects your creative spirit.
Bringing Your Vision to Life with ArtFlow AI
As you can see, ArtFlow AI is a powerful and versatile tool that excels in creating stunning static images with remarkable detail and artistic flair.
In this post, we’ve covered how to get started with the platform, from crafting the ideal text-to-image prompts to selecting the perfect artistic style that aligns with your vision.
We’ve also explored the extensive customization options available, including advanced settings that allow you to fine-tune every aspect of your artwork.
While ArtFlow AI focuses on producing high-quality static visuals, we’ve also discussed the platform’s deliberate choice to prioritize excellence in single-frame compositions over incorporating animation features. If animation is what you’re after, that’s a possibility too!
But, this post is about creating images and their animation still needs some work, if you ask for my opinion.
The key takeaway is that ArtFlow AI provides everything you need to bring your creative ideas to life.
Whether you’re an experienced artist or just starting out, the platform’s user-friendly interface, wide variety of styles, and robust customization tools make it simple to create professional-quality artwork that truly stands out.
Now that you have a strong grasp of what ArtFlow AI is capable of, it’s time to dive in and start experimenting!
Ready to unleash your creativity?
Click here to start your journey with ArtFlow AI and turn your ideas into stunning digital art.
Don’t wait. Get started today and see what amazing creations you can bring to life!
Now it’s your turn to start experimenting. Try using different prompts, styles, lighting, and angles to see what you can create.
Remember to share your prompts and images in the comments below! It would be great to see if this blog post helped. If you have any questions or need tips, feel free to ask.